
Define the surface early
Connect molded surface appearance with tooling polish, texture, draft, resin and a usable acceptance reference.
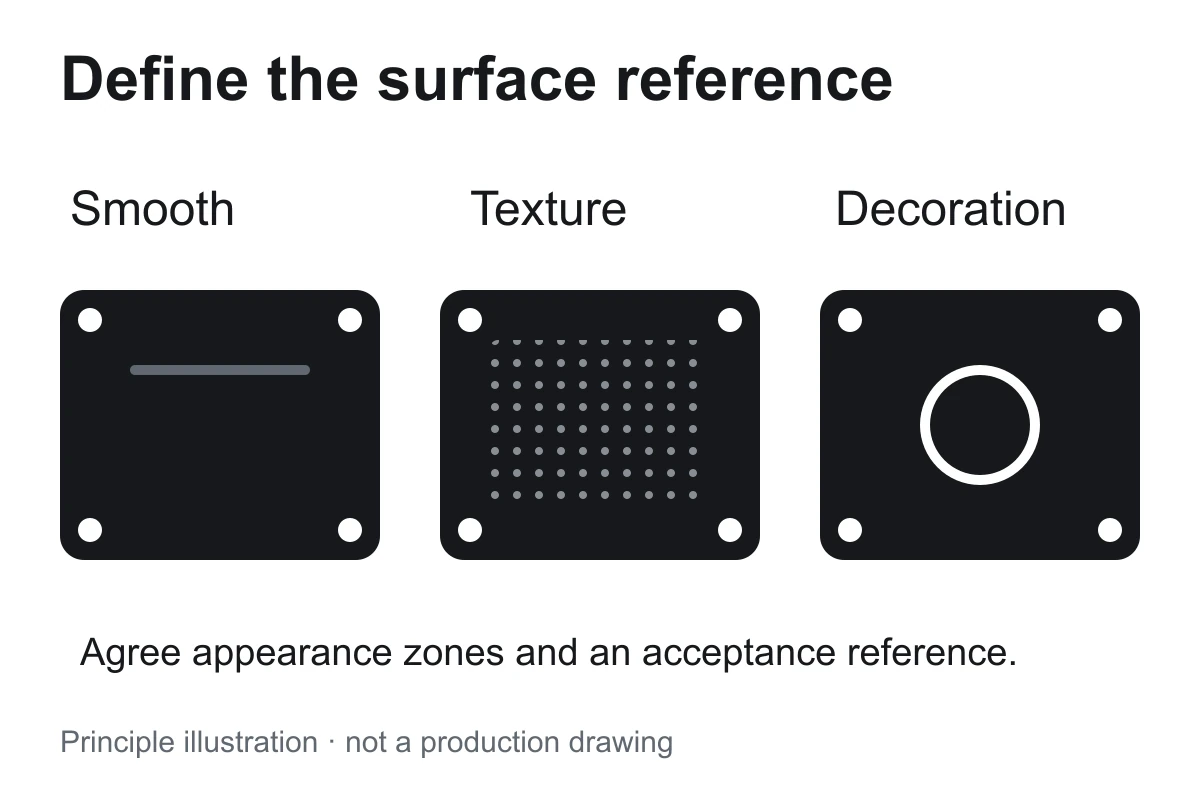
Separate appearance from a process name
Describe which surfaces the user sees or touches and what the component must do. A request for gloss, texture or a smooth surface needs an agreed reference and defined appearance zones.
Review the resin and geometry
The resin, fillers, color and local wall sections influence the visible result. Gate position, flow fronts, parting lines and ejector witness must be considered with the tool finish.
Allow the surface to release
A textured surface can change the release conditions. Review draft, depth and draw direction with the tool designer and texture supplier rather than applying one angle to every surface.
Agree a reference that can be checked
Specify the selected finish or texture system, reference sample, inspection conditions and allowable witness areas. A photograph on a web page does not establish a surface grade or roughness.
Include secondary decoration
Printing, paint, markings or joining may require masking, location or material compatibility checks. Review these requirements before the tool surface is finalized.
General engineering guidance. Confirm the actual resin supplier instructions, controlled drawing and project acceptance criteria.
Tell us what you’re making.
Share the part, resin, quantity and critical requirements. Reference a catalog item or start from your own drawing.