Insert molding
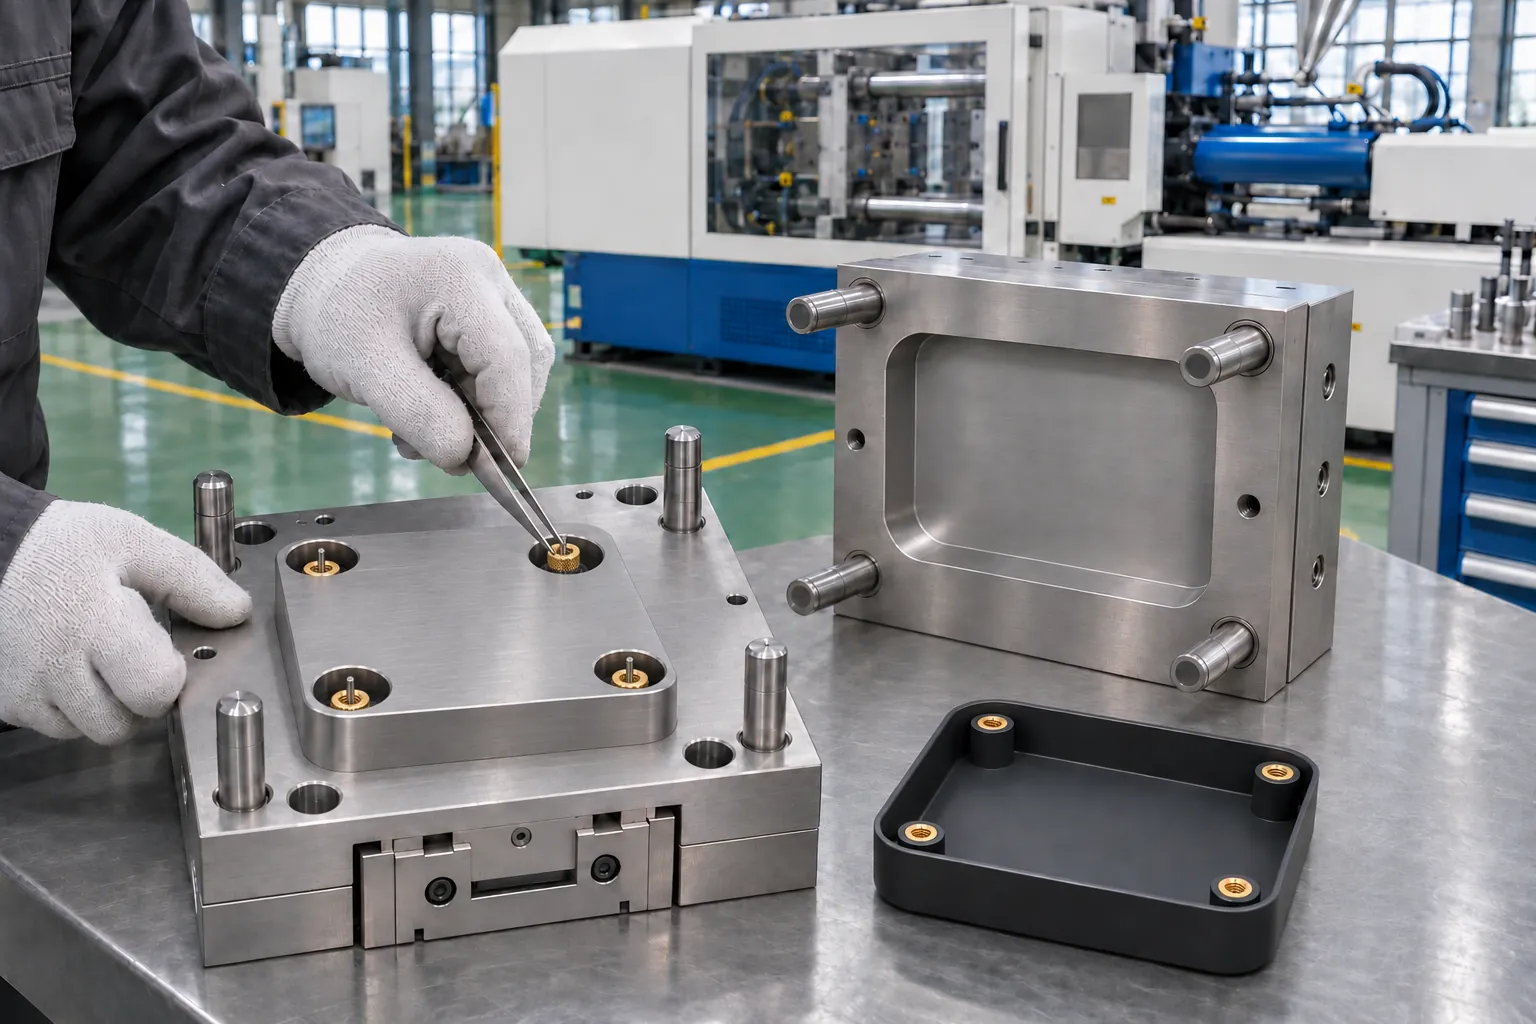
Mold plastic around a prepared insert to combine a plastic body with a metal connection or functional interface.
Design the plastic and insert together
Plan the insert and plastic as one assembly. Confirm the locating faces, protected surfaces and checks before tooling.
Insert definition
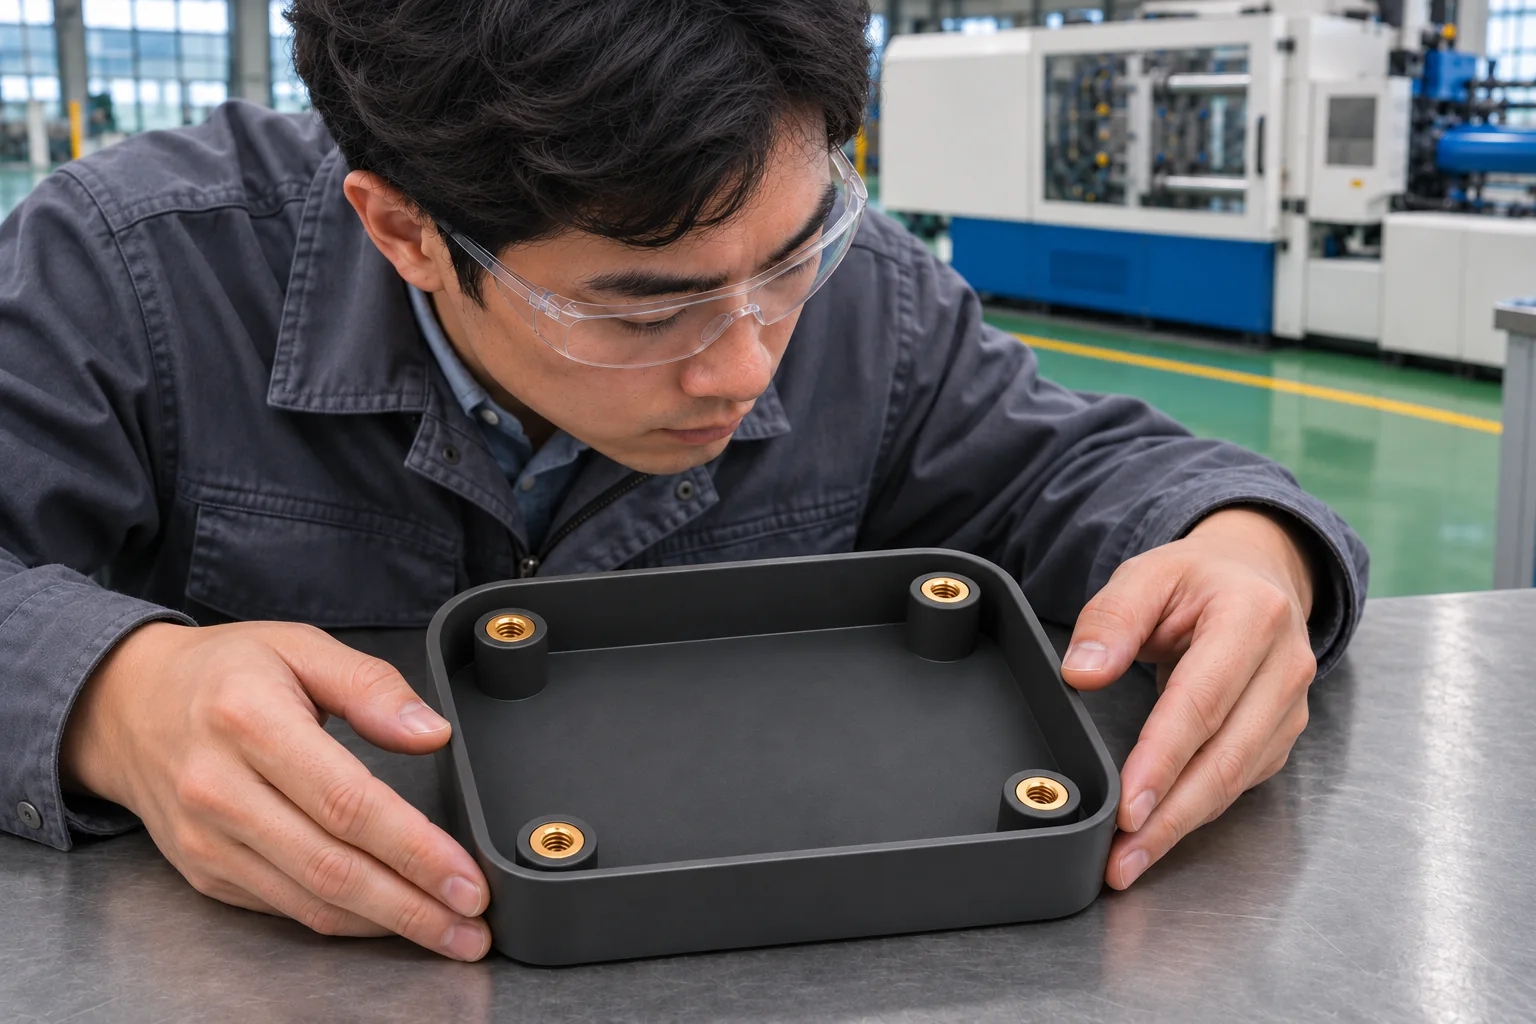
Share the controlled insert drawing, material, finish and approved supplier requirements. Identify orientation, burr or cleanliness requirements.
Location & retention
Agree how the insert is supported while the tool closes and fills. Review plastic coverage and features that resist pull-out or rotation.
Thread protection
Identify threads, bores and contact faces that must stay free of plastic. Review shut-offs and handling to prevent flash or damage.
Stress & assembly
Review wall thickness, support, shrinkage and thermal behavior around the insert. Avoid a thick, poorly cooled mass within an otherwise thin component.
Inspection
Agree checks for insert presence, orientation and position. Include torque, pull-out, leak or electrical checks where the component requires them.
What to send for review
- Insert drawing Material, finish, tolerances, controlled revision and approved supplier requirements.
- Molded part Resin, plastic coverage, wall thickness and critical interfaces.
- Function Assembly loads, torque, sealing or electrical requirements.
- Supply & quantity Insert sourcing, packaging, handling, expected quantities and supply responsibility.
Compare installation methods
Insert molding
Process. Locate the prepared insert in the mold before plastic is injected around it.
Design review. Define the locating faces, plastic coverage and surfaces that the tool must protect.
Checks to agree. Confirm insert presence, orientation, position and project-specific functional checks.
Post-mold installation
Process. Install an insert into an already molded component using the agreed assembly route.
Design review. Review joint geometry, resin and assembly loads before choosing the installation route.
Checks to agree. Confirm the installed position, retention and relevant torque, pull-out or functional checks.
These routes use different tooling, handling and validation; do not assume they are interchangeable.
Questions, answered
Can an insert be added after molding instead?
Sometimes. Heat staking, ultrasonic insertion or assembly may be suitable. The choice depends on geometry, resin, insert function and required retention. We review the proposed route with the drawing.
Do you supply the inserts?
Insert sourcing and responsibility are confirmed for each quotation. Include the insert specification and any approved supplier requirement.
Tell us what you’re making.
Send the part, material and annual volume. We will review the drawing requirements with you.