A drawing ready for DFM
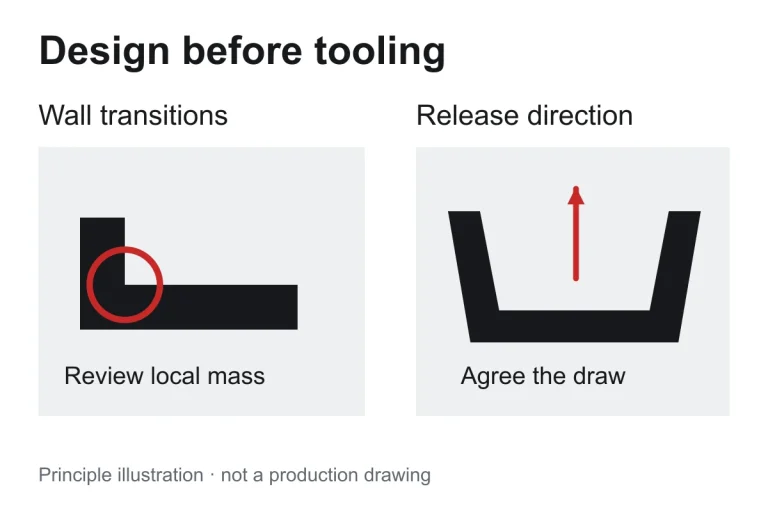
Prepare wall transitions, release direction, ribs, bosses and appearance zones before tooling. Use a controlled model, drawing and material specification to agree the decisions that affect the mold.
Read guide
Practical notes to help prepare your part, material requirements and drawing review.
Prepare wall transitions, release direction, ribs, bosses and appearance zones before tooling. Use a controlled model, drawing and material specification to agree the decisions that affect the mold.
Read guide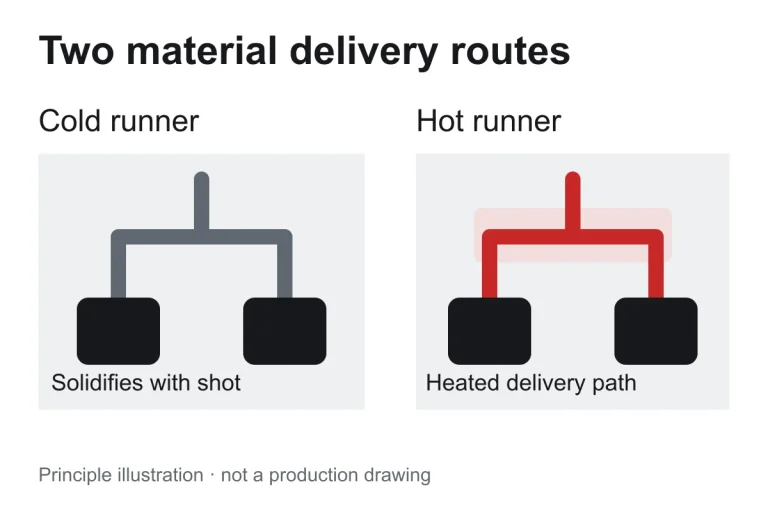
Compare solidifying runners and heated delivery paths against the actual part. Review resin compatibility, gate appearance, color changes, maintenance and production requirements before selecting the runner arrangement.
Read guide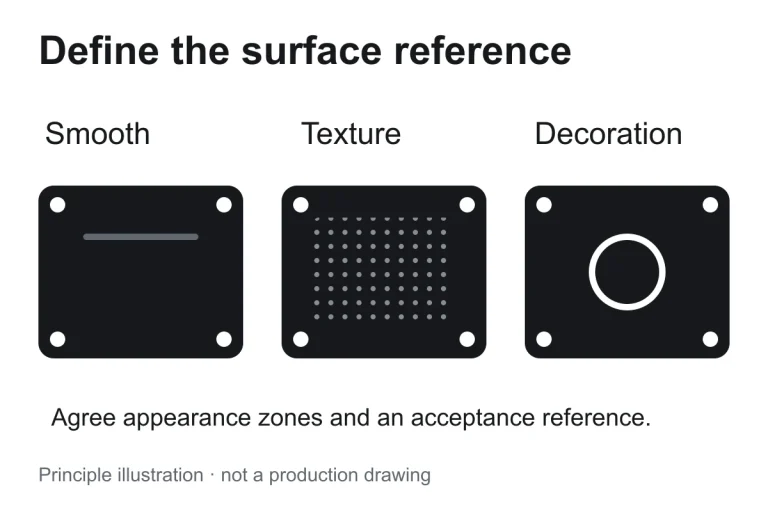
Define visible and touch surfaces before the mold finish is selected. Connect smoothness, texture and decoration with resin, release direction and an appearance reference that can be checked.
Read guide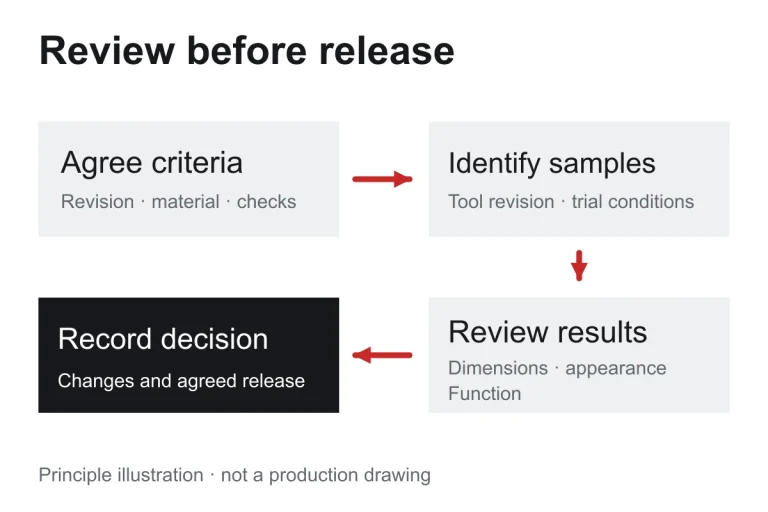
Agree acceptance criteria before the trial, identify the samples and record their conditions. Review dimensions, appearance and function separately, then connect corrections and release decisions to controlled revisions.
Read guide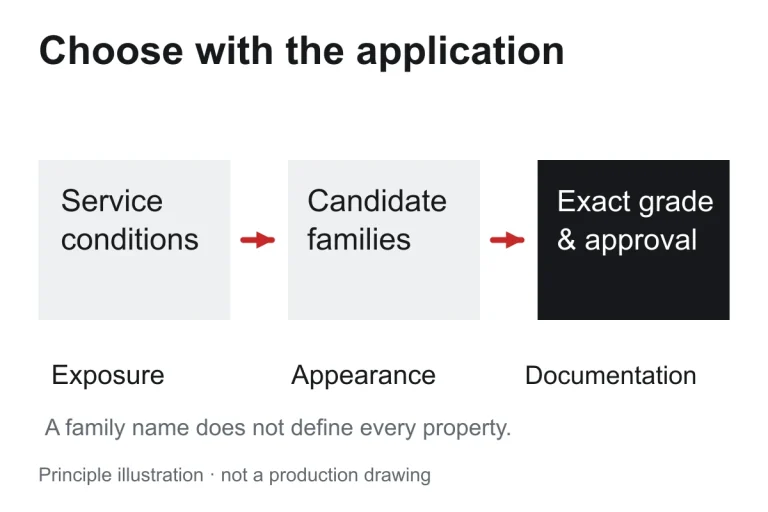
Compare resin families against service conditions, appearance and assembly needs. Confirm the exact supplier grade, reinforcement, color and documentation before releasing the material for tooling or production.
Read guide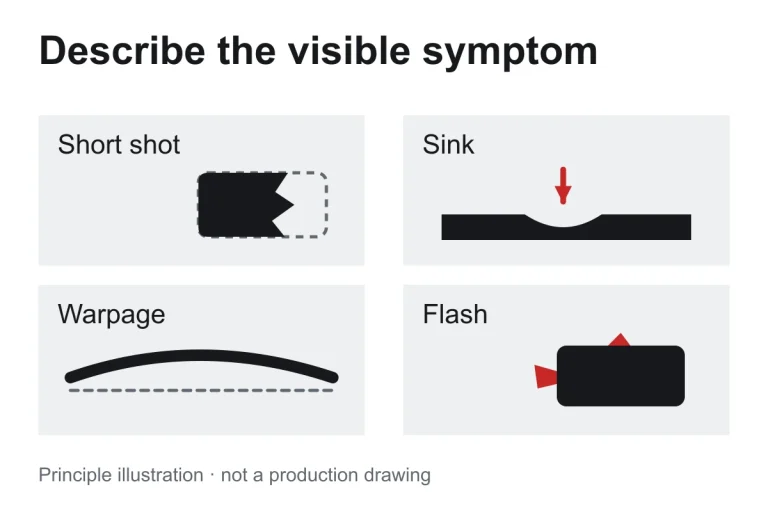
Describe short shots, sink, warpage and flash before choosing a correction. Review geometry, material, tooling and molding conditions together, then check the result against agreed acceptance criteria.
Read guideSend the part, material and annual volume. We will review the drawing requirements with you.